Oh boy, Pacific Drive’s about to turn up the heat, and not in the good, beachy way. We’re talking deep, dark dangers lurking around every corner. Especially when you start venturing into those areas where even the bravest souls hesitate. You know, the ones that make you question your life choices.
So, here’s the skinny on making it to the Mid-Zone without becoming monster chow. It’s part of the game’s main storyline, a mission named “Mid-Zone Crossing.” Sounds pretty straightforward, right? Well, you’d think.
You snag this quest a few hours in, after you’ve been running around completing tasks for Oppy and the gang. They’re like, “Hey, you’ve gotta head to the Mid-Zone to keep this escape plan rolling.” And you’re like, “Cool, cool, cool, no doubt, no doubt.”
But, plot twist: it’s not as easy as just following your GPS. Nope. You’ve got a journey ahead of you. Make sure your car’s in tip-top shape and your gas tank’s full. Because, trust me, you don’t wanna run out of gas in *those* parts.
We had to double back more times than I’d like to admit. Trying to find a way to the wall separating the Outer Zone from the Mid-Zone was a trip. Literally.
From your cozy Auto Shop hub to the daunting Mid-Zone wall, it’s a trek. You’ll hit a highway and two junctions, G1 and G3. If it’s your first rodeo, good luck finding a clear path right off the bat.
Here’s a little play-by-play of our adventure: The road from the hub to G1? Short and sweet. G1 to G3? Not so much. Our first trip was a bust. Had to grab some Anchors, then hightail it back to base via Gateway.
After a bit of back and forth, we finally made it from G1 to G3. But G3? Pitch black. Couldn’t see a thing. Pro tip: bring headlights, flashlights, flares. Anything to cut through that darkness.
After what felt like a gazillion attempts, we stumbled into G2. And there it was, the wall to the Mid-Zone. We’ve even got a map of G2 for you. Just remember, the game likes to keep you on your toes with procedural generation. But the main road layout should be the same.
Your goal? Head south till you hit the three pips on the map. Sounds easy, right?
To breach the Mid-Zone, you’ve gotta push through a barrier. Those three pips? They mark a storm drain opening. Dive in, keep those headlights on, and follow the path.
Soon, you’ll find yourself in what looks like a railway station or dockyard, surrounded by cargo containers. Keep going till the path loops around, and voila, the exit to the Mid-Zone awaits.
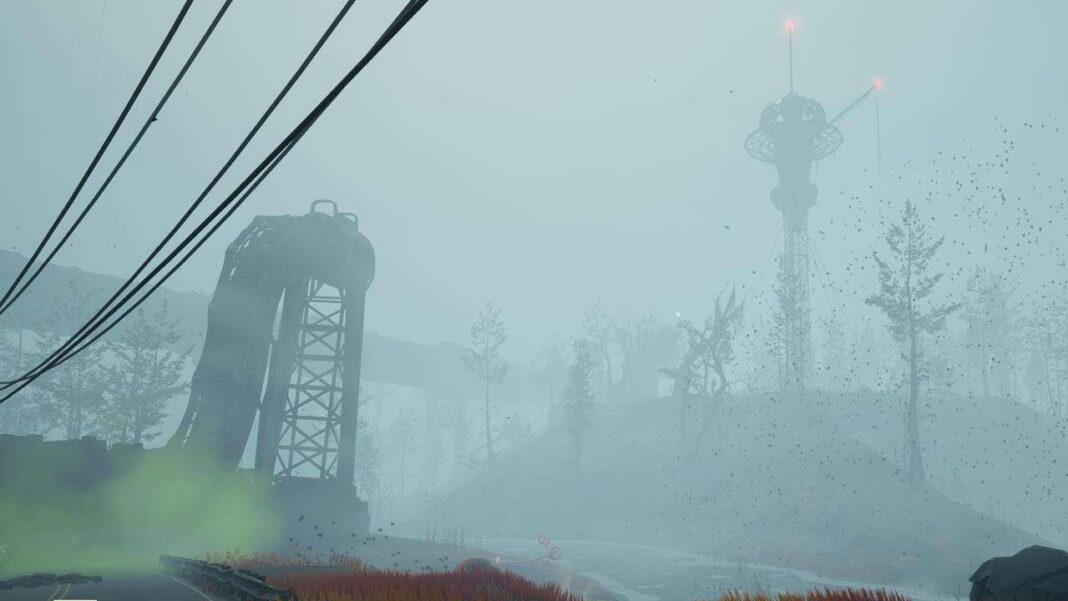
But wait, there’s more. The Mid-Zone’s packed with its own set of fun surprises. Think floating tri-tentacles (affectionately dubbed “Birds”) and poisonous marshlands. Your mission? Activate a panel in the Stabilizer Tower on a hilltop. Easy peasy, right? Ha, if only.
Just a heads up, activating that panel kicks off a whole mess of instability. Think Fortnite zone collapse, but scarier. A few pro tips: stock up on Anchors, plan your Gateway exit wisely, and watch out for those marshes. They’ll slow you down at the worst possible time.
If you manage to escape the Mid-Zone, congrats! You’ve nailed this mission. But don’t get too comfy. There’s always more to do, like cracking that keypad door in the Auto Shop. Good luck, you’re gonna need it!

